Let's face it, the instrument cluster in the Yeti is quite boring. White, white and more white.
A quick scout around the Web and I find a couple of things I am going to need:- LED bulbs - SMD 3528 - Blue (I buy a pack of them because I don't yet know how many I need)
- Luminous brush-on paint - Orange
Within a week they have arrived.
Right, let's start.
Two hex screws to undo...

Now the clip behind the clocks...

With the instrument cluster completely detached I am going to take it inside

Four tiny hex screws to undo. And a couple of clips around the housing.
I am careful with these clips, they're plastic.
Thirteen year-old plastic in the case of my Yeti. 😰


The shell separates and I place it aside.
I remove each needle by twisting it (carefully) clockwise

Now I will lightly sand off the shine of each needle...


All needles wiped with Isopropyl after sanding.
Now I will paint them in luminous orange - two coats - 10 minutes between coats.
Here goes. 👀

While they dry it's time to tackle the LEDs.
The black dial faces come off after twisting them clockwise a little bit.

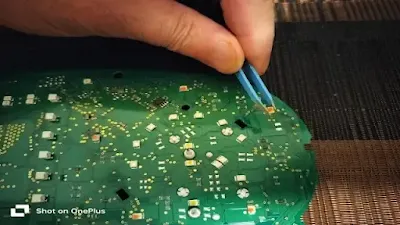
I can see that the five outer LEDs on each side are what I want to replace
I mark them with a felt pen.
I am not touching any of the others.
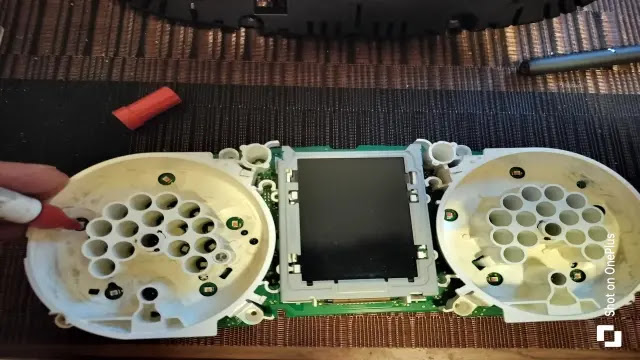
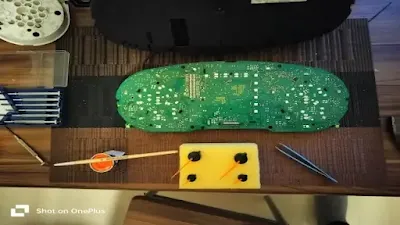
Now let's separate the printed circuit board...


Before I go any further I better first check that the LEDs I bought online are the right ones. 👀

Phew! Looks like good times.
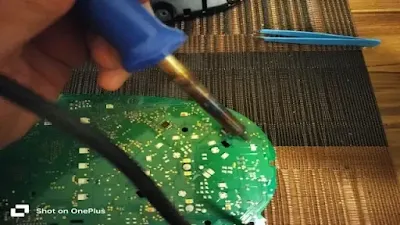
So now I will give the PCB a once over, in case any solder joints need re-soldering.

Nope. None. Great.
Okay. My needles are dry
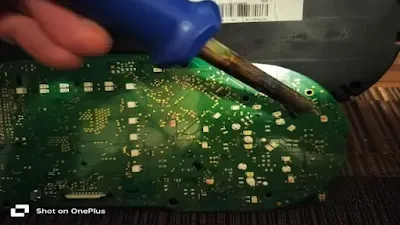
And to me they are looking good, but I won't know for sure until my new LEDs are illuminating them.Time to unsolder the 10 white outer LED's I marked earlier ...
Yes. I'm doing this. 😲


Just a heads up: many of my posts contain affiliate links of products I have bought for my Yeti.
If you buy something from one of these links, you will not pay a penny more.
I will get a small commission, although not every time.
The extra pennies help me to pay the annual cost of the domain name.
I thank you for your support.

Yes. I'm doing this. 😲


One corner on each LED is angled a little
To identify positive and negative ends I suppose.
Better make sure I replace them like-for-like or my PCB could start smoking. 😟


Well, that is all 10 replaced.
Here's the causality list...

Now let's take the board outside to my Yeti, connect it and see what's what...

YAY!
All 10 LEDs are working 😎
And my painted orange needles are looking sharp.
I reassemble and reinstall.
I have gone...


Good times.

Thanks for visiting.
And feel free to stay tuned for more Yeti modifications I have planned.
If you want the SMD 3528 LED bulbs they are here on Amazon
And if you want luminous paint it is here on Amazon
If you buy something from one of these links, you will not pay a penny more.
I will get a small commission, although not every time.
The extra pennies help me to pay the annual cost of the domain name.
I thank you for your support.